
Arduino Project with C++: Temperature and Humidity Monitor
This project involves creating a temperature and humidity monitor using an Arduino board and a DHT11 sensor. We'll use C++ to program the Arduino, and display the readings on the Serial Monitor.
Components Needed
- Arduino Uno
- DHT11 Sensor
- 10kΩ Resistor
- Breadboard and Jumper Wires
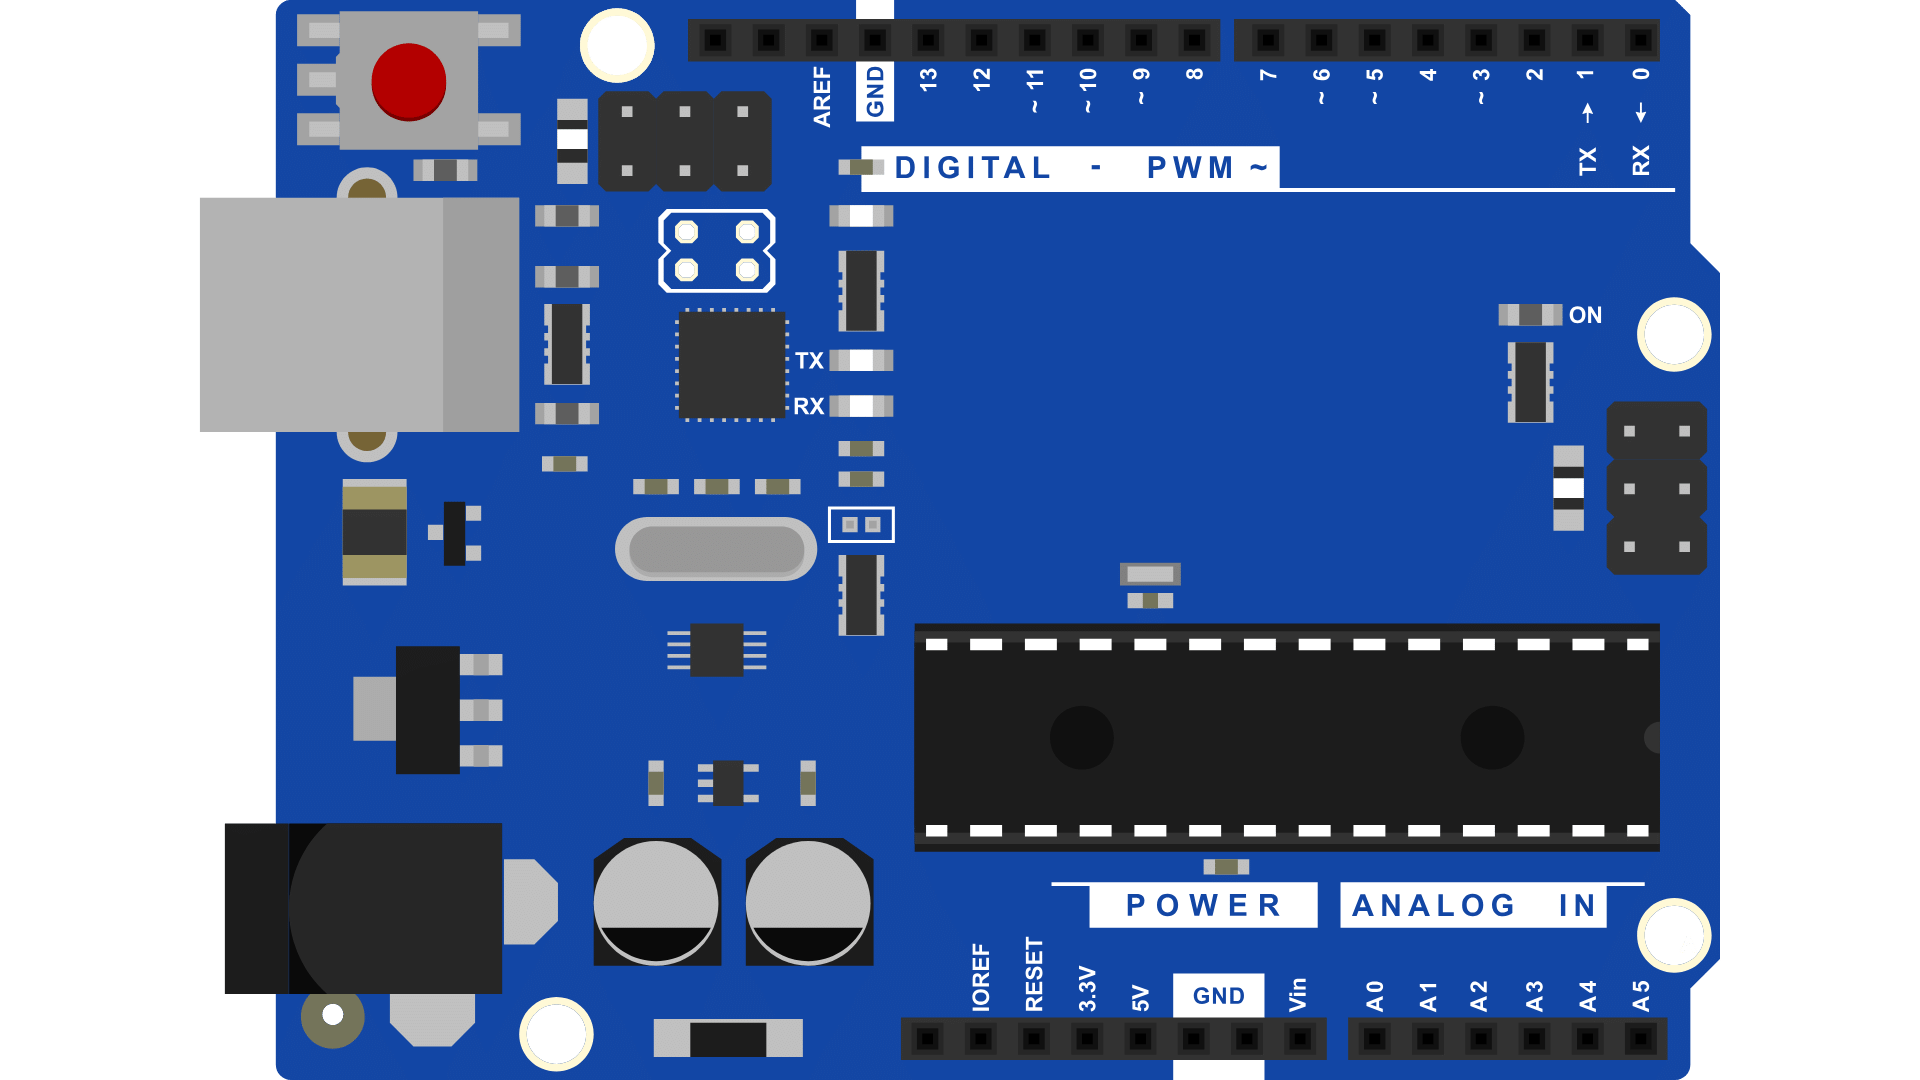
Circuit Diagram
Connect the DHT11 sensor to the Arduino as follows:
- VCC to 5V on Arduino
- GND to GND on Arduino
- Data to Digital Pin 2 on Arduino (with a 10kΩ pull-up resistor to VCC)
Note: Ensure the connections are correct to avoid damage to the components.
Arduino Code
Here is the code to read temperature and humidity data from the DHT11 sensor and display it on the Serial Monitor:
#include <DHT.h>
#define DHTPIN 2 // Digital pin connected to the DHT sensor
#define DHTTYPE DHT11 // DHT 11
DHT dht(DHTPIN, DHTTYPE);
void setup() {
Serial.begin(9600);
dht.begin();
}
void loop() {
delay(2000); // Wait a few seconds between measurements
float humidity = dht.readHumidity();
float temperature = dht.readTemperature();
if (isnan(humidity) || isnan(temperature)) {
Serial.println("Failed to read from DHT sensor!");
return;
}
Serial.print("Humidity: ");
Serial.print(humidity);
Serial.print(" %\t");
Serial.print("Temperature: ");
Serial.print(temperature);
Serial.println(" *C");
}
Explanation
1. Including the DHT Library
We include the DHT library which provides functions to interact with the DHT11 sensor.
2. Defining Constants
We define the pin number where the DHT11 sensor is connected (DHTPIN) and specify the type of DHT sensor we are using (DHTTYPE).
3. Initializing the DHT Sensor
We create a DHT object named dht and pass the pin number and sensor type to it.
4. Setup Function
In the setup() function, we begin serial communication with a baud rate of 9600 and initialize the DHT sensor using dht.begin().
5. Loop Function
In the loop() function, we wait for 2 seconds between measurements using delay(2000).
We then read the humidity and temperature values from the DHT11 sensor using dht.readHumidity() and dht.readTemperature() respectively.
If the readings are not valid (i.e., isnan() returns true), we print an error message. Otherwise, we print the humidity and temperature values to the Serial Monitor.
Uploading the Code
To upload the code to your Arduino:
- Open the Arduino IDE.
- Copy and paste the code into the IDE.
- Connect your Arduino to your computer using a USB cable.
- Select your Arduino board and port from the Tools menu.
- Click the Upload button.
Testing the Project
Once the code is uploaded, open the Serial Monitor from the Arduino IDE. Set the baud rate to 9600. You should see the humidity and temperature readings displayed every 2 seconds.
Note: If you do not see any readings, check your connections and ensure that the DHT library is installed in your Arduino IDE.
Post a Comment